Kartoza - Finding and Fixing Topology and Geometry Errors in QGIS
Google Maps, Google Earth, Uber are examples leading software/apps that are driven by GIS. They have allowed the ordinary person inadvertently to use GIS and appreciate its power without needing an un
Google Maps, Google Earth, Uber are examples leading software/apps that are driven by GIS. They have allowed the ordinary person inadvertently to use GIS and appreciate its power without needing an understanding of the basics of GIS. Many people have taken the leap to using GIS by using some of the GIS capabilities in Google Earth.
In a recent 'Introduction to QGIS' course, a client provided a dataset that had been generated in Google Earth, but each time they submitted their final layer to GIS experts they were told the layer was not correct. They just could not figure out what the error with their data was.
I immediately thought that the dataset had some topology error and took it upon myself to debug and fix the errors with the layer. My main worry was how to explain topology basics to people who are not GIS experts. Terms like slivers, undershoots, overshoots are easy to understand for a GIS user or academic. In this post, I will walk through how I tried to explain and show the attendees the topology errors.
The following are the steps I took to inspect the layer
- Load the KML layer into QGIS. Since KML editing functionalities are limited I then converted the layer into another format ie Geopackage, spatialite, or shapefile.
- Inspect the attributes of the layer.
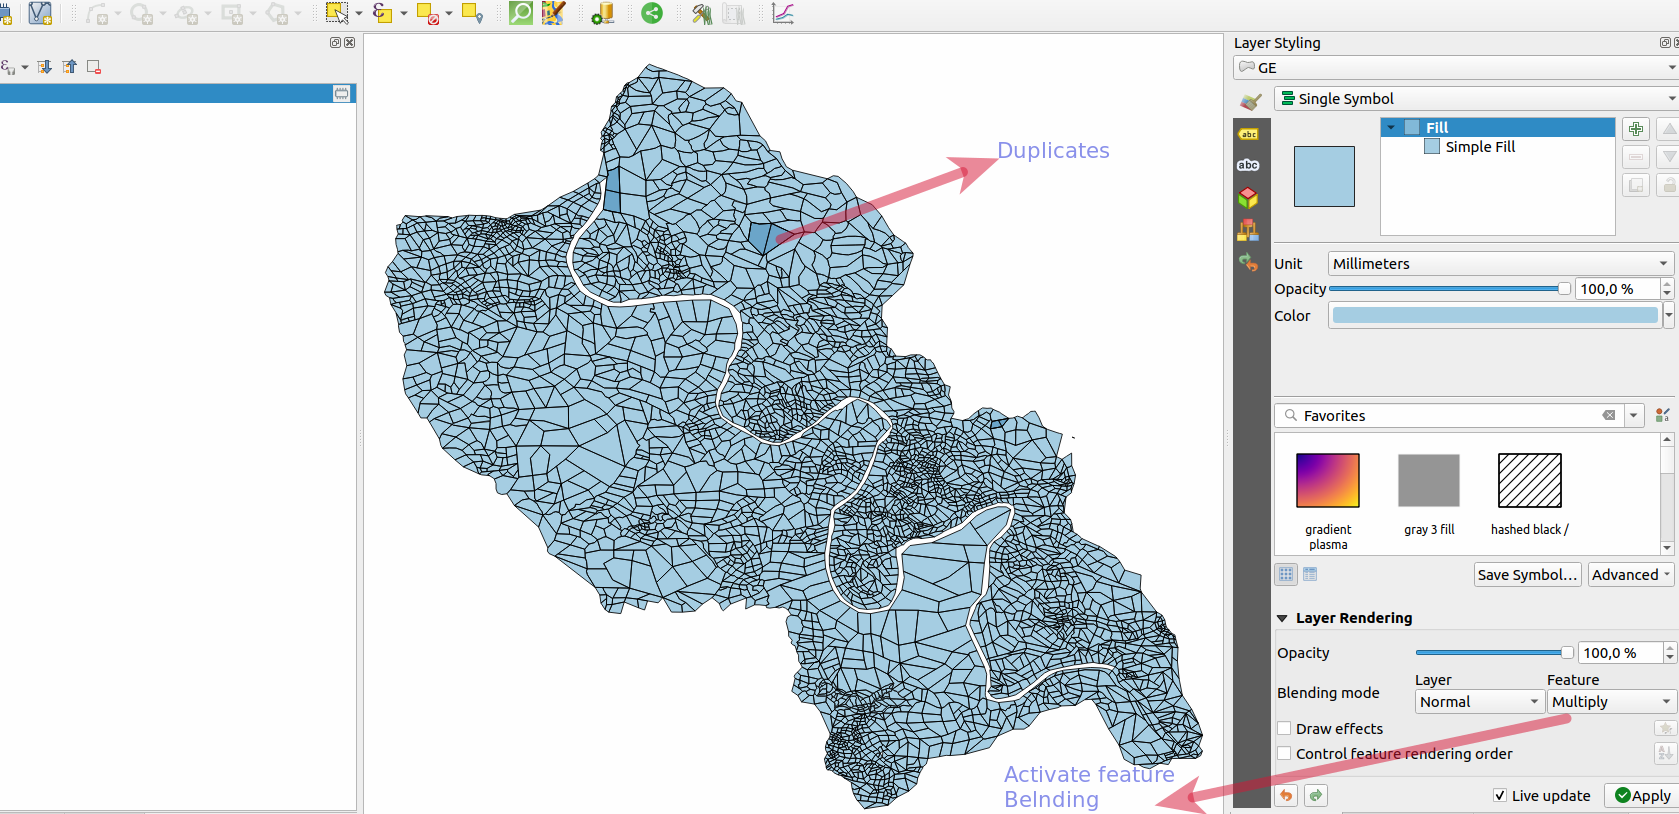
- Identify if there are duplicates for the layer. For this, I used layer styling options to visualise this.
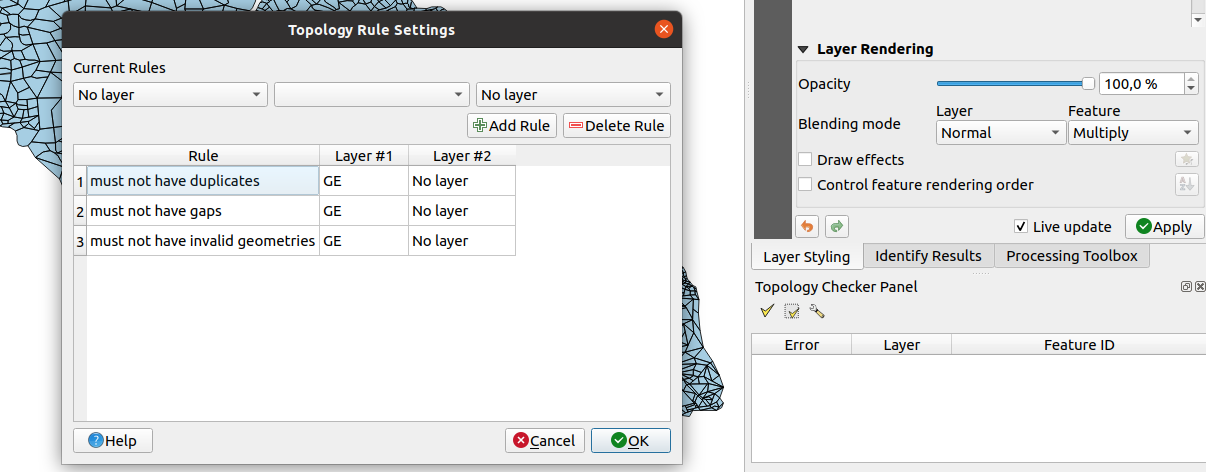
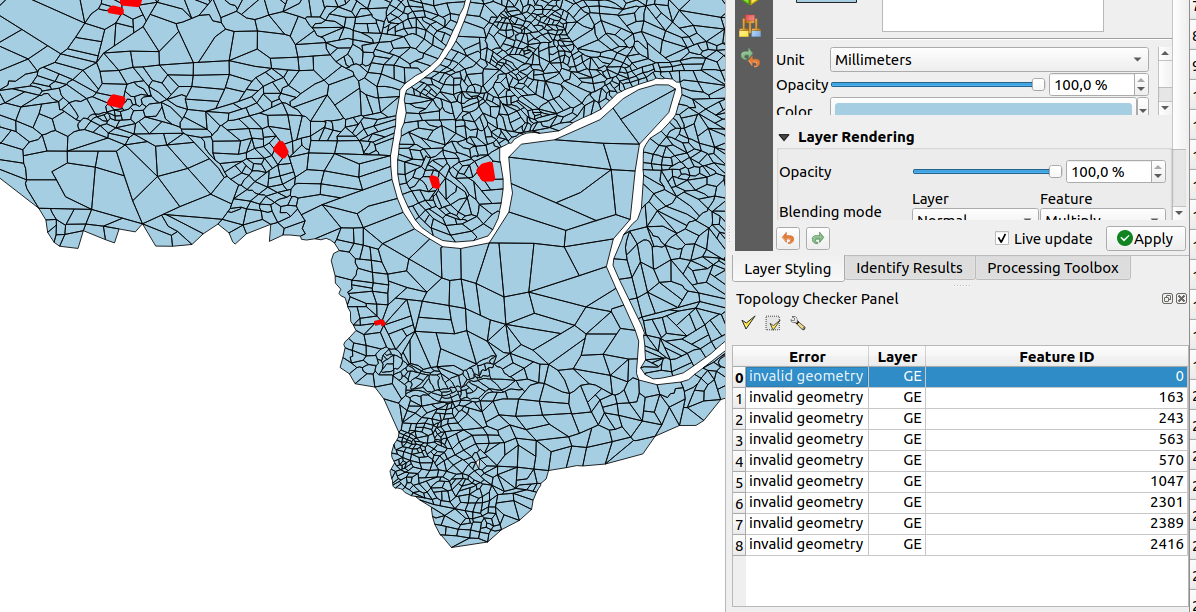
- Activate the Topology checker plugin and then configure the rules to report errors.
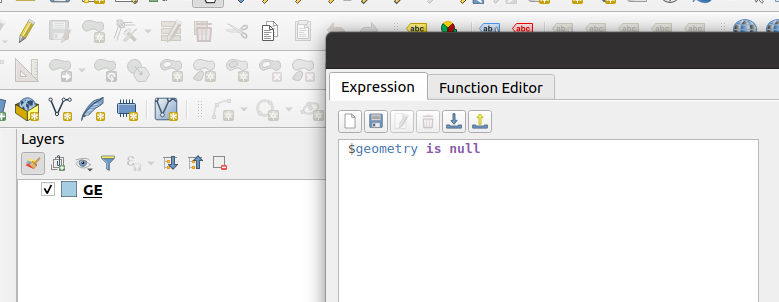
- The topology checker could not run because they were some null geometries within the layer.

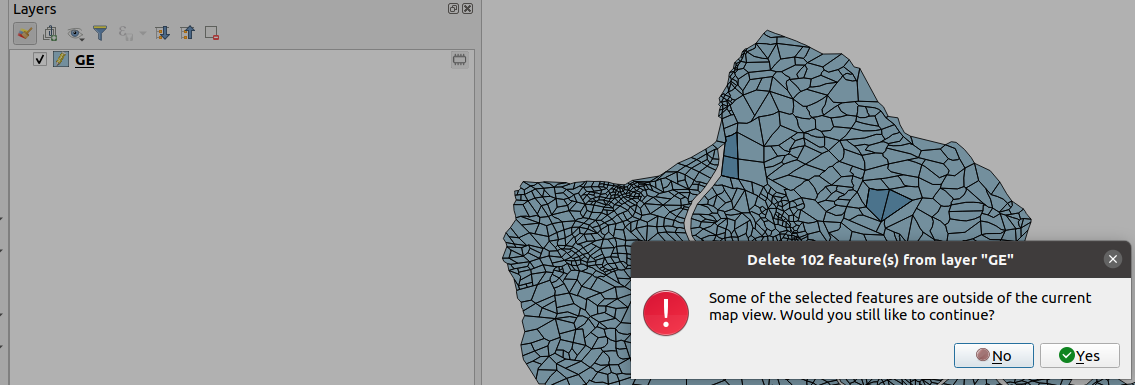
- Since we cannot visualise null geometries I then used an expression to select the records and delete them from the layer.
- After running the geometry checker I could see some errors showing on the screen. The errors depicted did not give a definitive explanation of what constitutes invalid geometry.
- I could use the topology checker to identify the gaps but I wanted a more visual way to show them the errors. So what I did is the following
* Generate the bounding box of the layer using the Minimum bounding geometry algorithm.
* Run the difference algorithm between the layer and the bounding box.
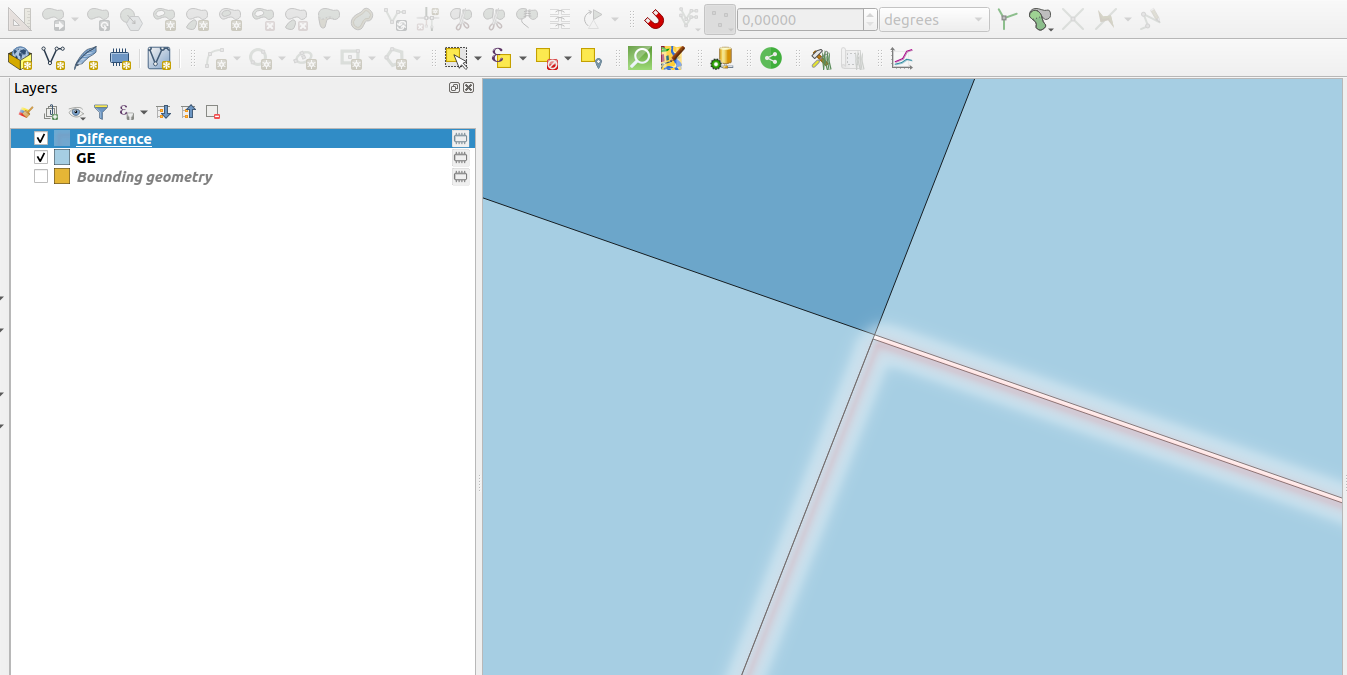
* Symbolize the difference layer using outer fill to only highlight the areas where there are gaps.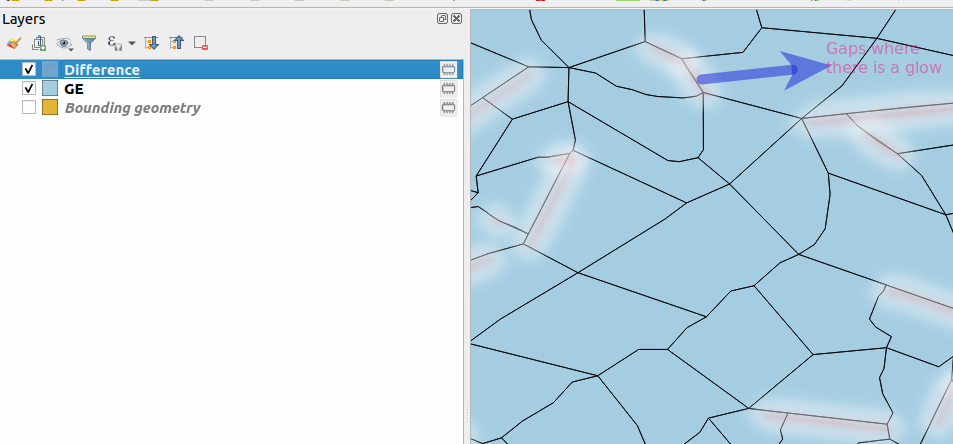
- Finally, to fix all these errors you would need to run the algorithm 'Delete duplicate geometries', activate snapping, and then correct the errors manually. Alternatively, you could run the processing algorithm v.clean provided you understand what the parameters mean.


No comments yet. Login to start a new discussion Start a new discussion